component.controller.AnimationEditor
The AnimationEditor component is used to build an animation from key points motion, or typically to build effector goals trajectories. In this directory you will find one example showing how to use the component:
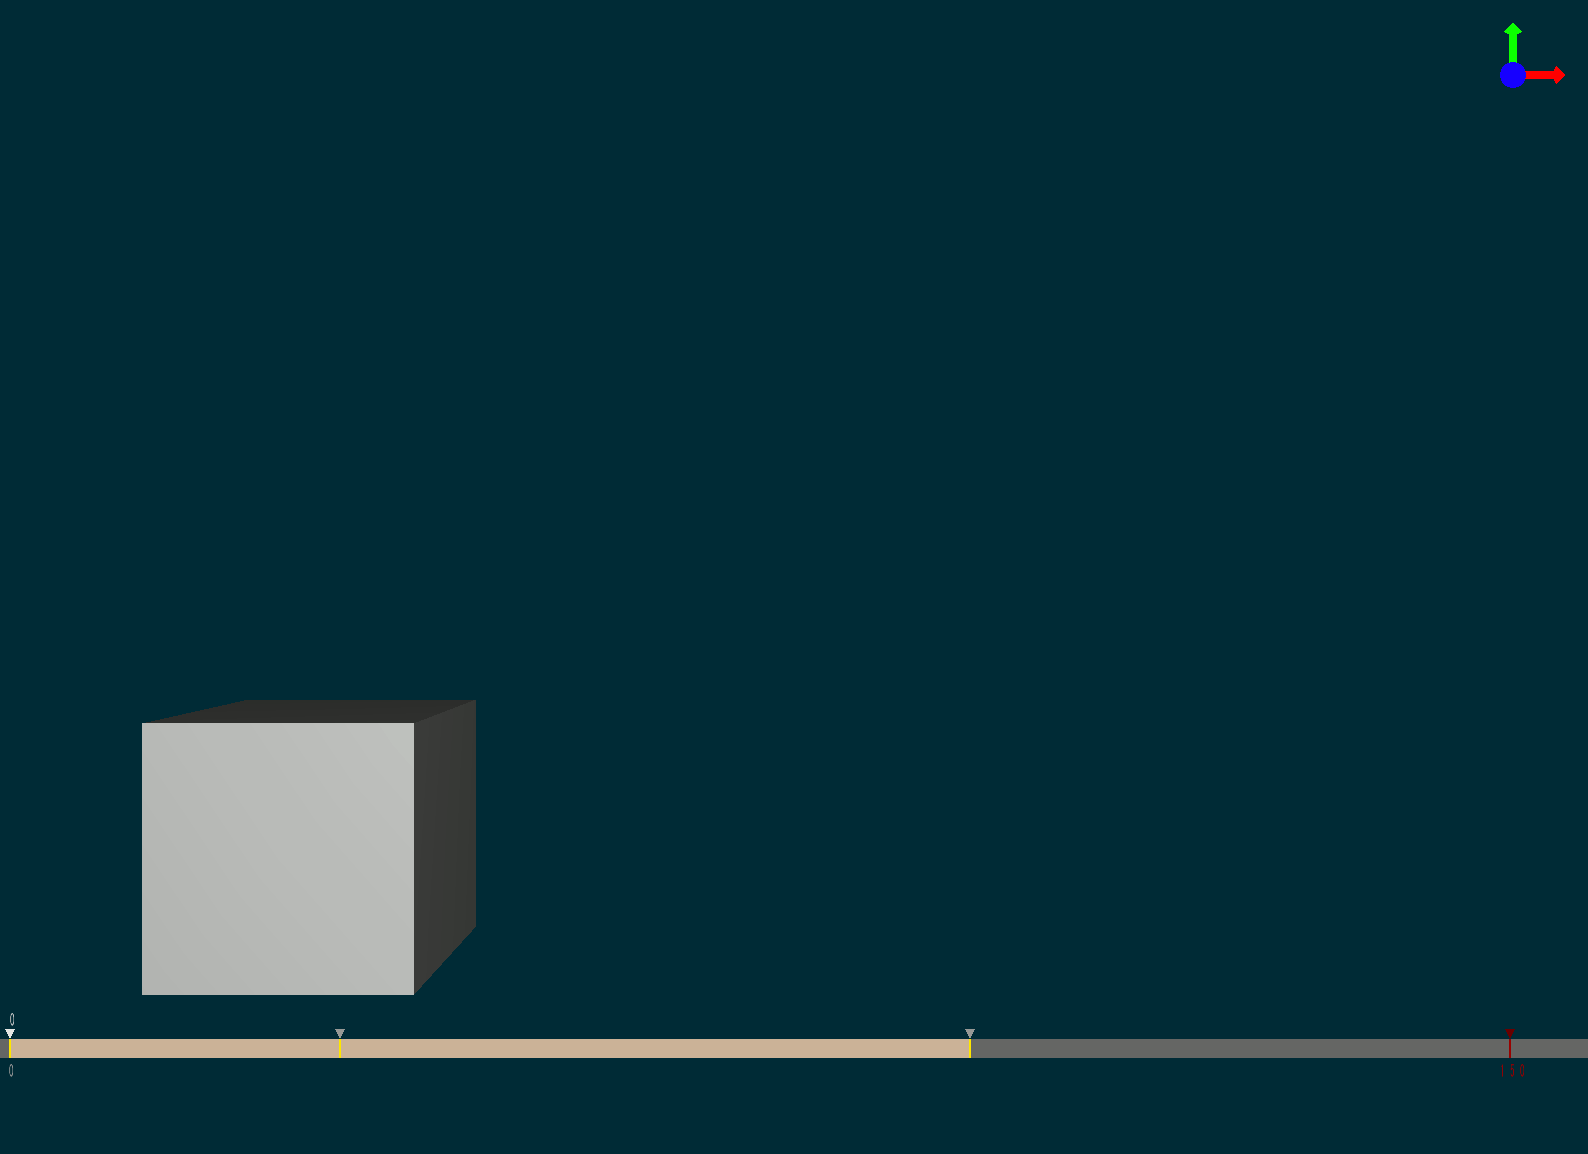
- RigidAnimation.py : Rigid cube
The AnimationEditor component inherites from SOFA controller. In SOFA, a controller has an input data listening that has to be set to true if you want the component to be active in your scene, listening=1.
Now you can build your animation. To navigate through the timeline, click left on the scene window and use the following keyboard commands:
- ctrl+→ : move the cursor to the right
- ctrl+← : move the cursor to the left
- ctrl+pgUp: move the cursor to the next keyframe
- ctrl+pgDn : move the cursor to the previous keyframe
The cursor is represented by a white triangle. You can now move the key points that you created with MechanicalObject and save a keyframe. Between two keyframes an interpolation is computed to create the animation. A keyframe is represented by a yellow triangle upon a line. Here are the keyframes commands:
- ctrl+a : add a key in the cursor location
- ctrl+d : delete the key
- ctrl+c : copy the key
- ctrl+x : cut the key
- ctrl+v : paste the key
You can also save, load or play/pause the animation using the following commands:
- ctrl+w : (write) save the animation in “filename”
- ctrl+m : play/pause the animation
The component is templated with Vec3 and Rigid3. This kind of animation could be used, for instance, for the control of an effector in position and rotation. The PositionEffector component is also templated with Rigid3. Thus, you can save a trajectory for a 6DoF target.
Example
def createScene(rootNode):
    point = rootNode.addChild('point')
    point.addObject('EulerImplicitSolver', firstOrder=True)
    point.addObject('CGLinearSolver', iterations=100, tolerance=1e-5, threshold=1e-5)
    point.addObject('MechanicalObject', template='Rigid3',
                    position=[0, 0, 0, 0, 0, 0, 1],
                    showObject=True,
                    showObjectScale=0.1,
                    drawMode=1,
                    showColor=[255, 255, 255, 255])
    # The AnimationEditor takes multiple options
    # template : should be the same as the mechanical you want to animate
    # filename : file in which the animation will be saved
    # load : set to true to load the animation at init (default is true)
    # loop : when the animation is playing, set this option to true to loop and start again the animation
    # dx : to control the animation in displacement instead of time
    # frameTime (default is 0.01)
    # drawTimeline (default is true)
    # drawTrajectory (default is true)
    # drawSize : coefficient size of displayed elements of trajectory
    point.addObject('AnimationEditor', name='animation',
                    template='Rigid3', filename=path + 'RigidAnimation.txt',
                    load=True,
                    drawTimeline=True, drawTrajectory=True)

    visu = point.addChild('visu')
    visu.addObject('MeshOBJLoader', name='loader', filename='mesh/cube.obj')
    visu.addObject('OglModel', src='@loader', filename='mesh/cube.obj')
    visu.addObject('RigidMapping')

    return rootNode
Data fields
| Required | Description |
|---|---|
| maxKeyFrame | Max >= 1, default 150 |
| filename | If no filename given, set default to animation.txt. |
| Optional | Description |
|---|---|
| loop | If true, will loop on the animation (only in play mode). |
| load | If true, will load the animation at init. |
| dx | Variation of displacement. You can control the animation on displacement instead of time. If dx is set, at each time step, the animation will progress in term of displacement/distance. A positive dx means move forward and a negative dx means backward (on the timeline). |
| frameTime | Frame time. |
| drawTimeline | |
| drawSize | |
| drawTrajectory |
| Properties | Description |
|---|---|
| cursor | Read only. Current frame of the cursor along the timeline. |